SCOPE Firmware
SCOPE - Eurorack Oscilloscope & OLED Display#
SCOPE is a visual analysis tool for your Eurorack system. View your CV and audio signals as waveforms or analyze their frequency spectrum in real-time on a OLED display.
Hardware: 20Vpp · Arduino Nano · OLED Display (128x64) · Rotary Encoder · CV/Audio Input - Trigger Input · buffered output
SCOPE v1 (Oscilloscope & Spectrum Analyzer)#
Hardware Identification: SCOPEv1 modules have a black PCB.
Features
- Oscilloscope mode - visualize waveforms in real-time
- Spectrum Analyzer mode - see frequency content
- Adjustable timebase and sensitivity
- Use trigger input for stable waveform display
- NEW: Tuner mode
Good for: Signal analysis, visualizing modulation, tuning oscillators
Modes:
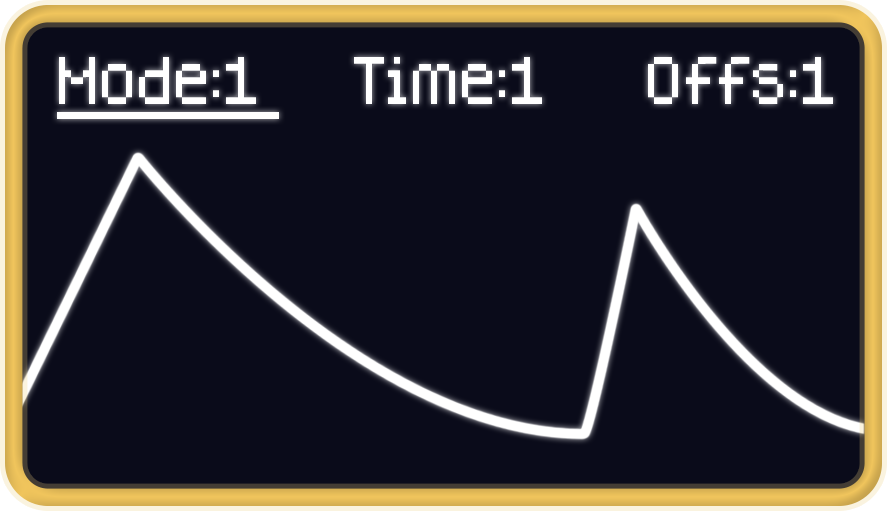
- Oscilloscope: Real-time waveform display with adjustable timebase
- LFO Mode: Best for slow modulation
- WAVE Mode: For Audio rate
- SHOT Mode: For Envelopes
- Spectrum Analyzer: FFT-based frequency analysis showing harmonic content
- Tuner: Tune your oscillators
- Settings: Configure encoder direction, menu timeout, and display orientation
Controls:
- Encoder Short Press: Toggle between menu options
- Encoder Medium Press (1-2s): Save current settings to EEPROM
- Encoder Long Press (>3s): Enter/Exit Global Settings Menu
- Encoder Rotation: Adjust parameters
SCOPE v2 (Oscilloscope & Spectrum Analyzer)#
Hardware Identification: SCOPEv2 and newer revisions have colorful PCBs (green for v2). Do not flash this firmware on SCOPEv1 (black PCB) hardware!
Features
- Oscilloscope mode - visualize waveforms in real-time
- Spectrum Analyzer mode - see frequency content
- Adjustable timebase and sensitivity
- Use trigger input for stable waveform display
- Tuner mode for tuning oscillators
Perfect for: Signal analysis, visualizing modulation, tuning oscillators
Modes:
- Oscilloscope: Real-time waveform display with adjustable timebase
- LFO Mode: Best for slow modulation
- WAVE Mode: For Audio rate
- SHOT Mode: For Envelopes
- Spectrum Analyzer: FFT-based frequency analysis showing harmonic content
- Tuner Mode: For tuning oscillators (SCOPEv2+ only)
- Settings: Configure encoder direction, menu timeout, and display orientation
Controls:
- Encoder Short Press: Toggle between menu options
- Encoder Medium Press (1-2s): Save current settings to EEPROM
- Encoder Long Press (>3s): Enter/Exit Global Settings Menu
- Encoder Rotation: Adjust parameters
🛠️ Configure SCOPE Settings{: .button}
Hardware#
- Arduino Nano
- OLED Display: SSD1306, 128x64 pixels
- Rotary Encoder with push button
Installation Instructions#
1. Connect Your Module#
- Disconnect eurorack power connector
- Connect your Module or the Arduino Nano to your computer via USB
2. Flash Firmware#
- Click the appropriate button above (Nano or Old Bootloader)
- Your browser will prompt you to select the serial port
- Select the port corresponding to your Arduino
- Wait for the upload to complete (typically 10-30 seconds)
3. Configure (Optional)#
- Use the web-based configuration tool to adjust settings
- Or configure directly on the module using the encoder
4. Verify#
- Connect an signal source to the input
- The display should show the waveform or spectrum
- Use the encoder to adjust settings
Using SCOPE#
Oscilloscope Mode#
The oscilloscope displays incoming CV or audio as a waveform over time.
Parameters:
- Timebase: Adjusts how fast the waveform scrolls (zoom in/out on time axis)
- Sensitivity: Adjusts vertical scale (amplitude)
Spectrum Analyzer Mode#
The spectrum analyzer shows the frequency content of your signal using FFT (Fast Fourier Transform).
Display:
- Horizontal axis: Frequency (low to high, left to right)
- Vertical axis: Amplitude of each frequency bin
Global Settings#
Access global settings with a long press (>3s):
- Encoder Direction: Normal or Reversed
- Menu Timeout: 1-60 seconds (auto-hide menu when inactive)
- Panel Orientation: Normal or Upside Down
All settings are saved to EEPROM and persist after power cycling.
Configuration Tool#
Use the web-based configuration tool to easily adjust SCOPE settings without diving into menus:
🛠️ Open SCOPE Configuration Tool{: .button style=“display: inline-block; margin: 20px 0; padding: 12px 24px; background: linear-gradient(135deg, #0066cc 0%, #0088ff 100%); color: white; text-decoration: none; border-radius: 8px;”}
The configuration tool allows you to:
- Set encoder direction
- Configure display preferences
- Adjust default parameters
- Save settings directly to the module
Troubleshooting#
Upload fails:
- Ensure you’re using Chrome, Edge, or Opera (Web Serial API required)
- Try unplugging and reconnecting the USB cable
- Check that no other software (Arduino IDE, serial monitor) is using the port
Module doesn’t respond:
- Check power connections
- Verify correct board selection (Nano vs Old Bootloader)
- Try the opposite bootloader version
Wrong encoder direction:
- Use Global Settings menu to reverse encoder direction
- Or use the web configuration tool
Resources#
- GitHub Repository - Source code
- Build Guide - Assembly Video (Youtube)
- Configuration Tool - Web-based settings editor (soon)